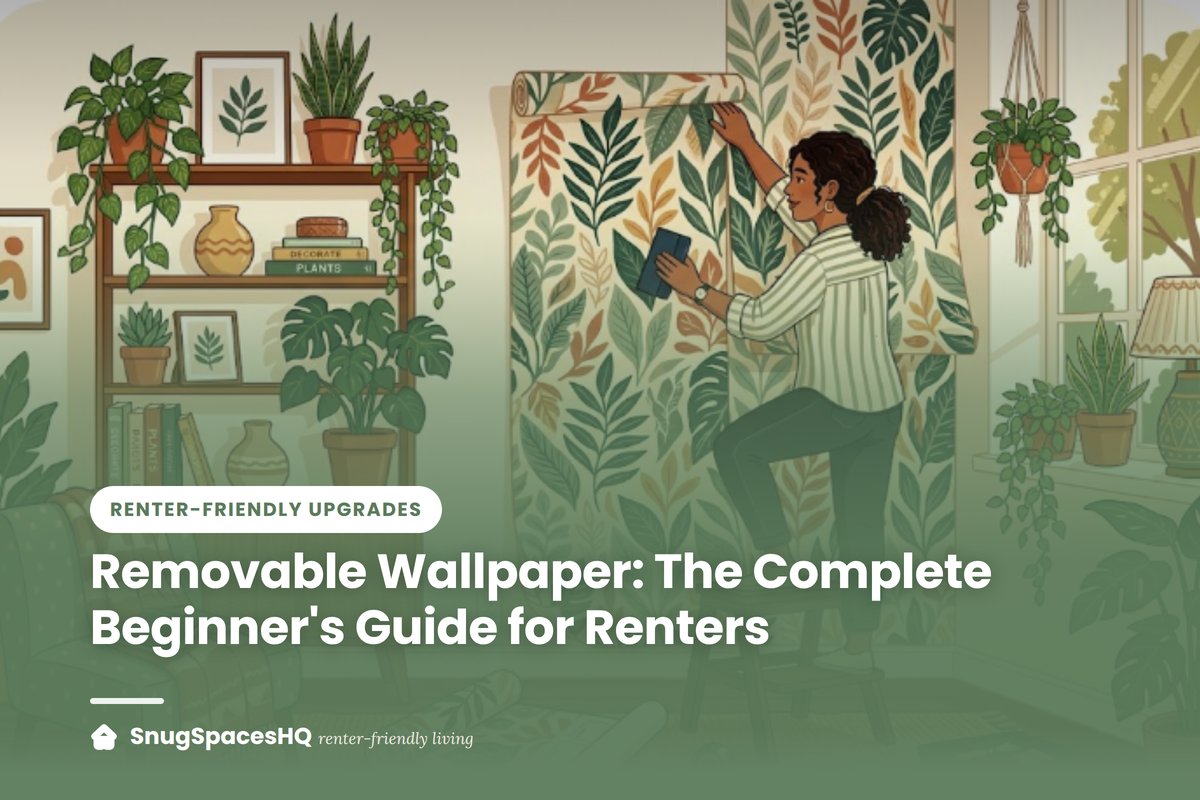
Removable Wallpaper: The Complete Beginner’s Guide for Renters
The first time I put up removable wallpaper, I made almost every mistake it's possible to make: I skipped cleaning the wall, I pulled instead of peeled while repositioning, and I started in the middle of the wall instead of a corner. It still turned out fine because peel-and-stick wallpaper is genuinely forgiving, but doing it right the first time saves you a wasted roll and an afternoon.
Here's the guide that walks through what actually matters.
What "removable" really means (and what it doesn't)
Removable wallpaper uses a low-tack adhesive that grips your wall but releases cleanly when peeled at the right angle. That's different from traditional pasted wallpaper, which is designed to stay for years and requires steam or chemical stripper to remove.
The catch: "removable" is a spectrum, not a guarantee. Results depend on:
- Your wall's paint type. Removable wallpaper works best on walls with a satin, eggshell, or semi-gloss finish. Flat/matte paint is more porous and can pull away with the wallpaper if it's low quality or old.
- How long it's been up. Most brands are rated safe for 1–3 years; leaving it up longer increases the risk of adhesive bonding more permanently.
- Wall condition before application. Freshly painted walls (within the last 30 days) haven't fully cured and are more likely to peel.
What you'll need
- Removable wallpaper roll(s) (measure your wall's height and width first, and always buy 10% extra for pattern matching and mistakes)
- A smoothing tool (a credit card wrapped in a cloth works if you don't want to buy one)
- A level or laser level
- A utility knife with a sharp blade (dull blades tear instead of cut cleanly)
- A tape measure
- A cleaning cloth and mild soap and water
Step-by-step application
- Clean the wall. Dust and oils are the #1 reason removable wallpaper fails to stick evenly. Wipe down with a damp cloth and let it dry fully, at least an hour.
- Measure and mark your starting line. Use a level to draw a faint vertical pencil line where your first strip will go. Don't eyeball it; a wall that's even slightly off-level makes every subsequent strip visibly crooked.
- Peel back 6–12 inches of backing at a time rather than the whole sheet. This gives you control and prevents the sheet from sticking to itself.
- Apply from top to bottom, smoothing outward from the center with your smoothing tool to push out air bubbles.
- Overlap or butt seams depending on the brand's instructions. Most premium peel-and-stick brands are designed for a butt seam (edges touching, not overlapping) for the cleanest look.
- Trim excess at the ceiling and baseboard with a sharp utility knife, using a putty knife as a guide for a clean line.
- Wait 24 hours before pressing anything against the wall (furniture, frames) to let the adhesive fully set.
Common mistakes (and how to fix them mid-project)
Bubbles after application. Small bubbles usually work themselves out within 24–48 hours as the adhesive settles. For stubborn bubbles, use a pin to prick a tiny hole and smooth the air out from the center.
Pattern doesn't line up at the seam. This is almost always a leveling issue from strip one. If you catch it early, it's cheaper to redo strip one than to fight the misalignment down the whole wall.
It won't stick at all. Usually a wall temperature or humidity issue. Most brands recommend application between 65–75°F. Bathrooms and kitchens with high humidity need moisture-rated wallpaper specifically labeled for those rooms.
How to remove it without damaging the wall
- Start at a top corner and peel slowly at a 45-degree angle, pulling down and toward yourself rather than straight out.
- If it resists, use a hairdryer on low heat for a few seconds to soften the adhesive.
- Any residue left behind usually comes off with a 50/50 mix of warm water and dish soap on a soft cloth; avoid abrasive scrubbing on painted walls.
- Do a final inspection under natural light before your move-out walkthrough; adhesive residue is the most common reason renters lose part of a deposit over wallpaper specifically.
Where to use it (and where to skip it)
Good candidates: accent walls, inside closet doors, drawer liners, backsplashes (heat-resistant versions), stair risers, headboard walls.
Skip it on: textured "orange peel" walls (adhesion is unreliable), freshly painted walls under 30 days old, and walls with any existing damage or peeling paint: the wallpaper will telegraph and potentially worsen the issue.
FAQ
Does removable wallpaper work on textured walls?
Poorly, in most cases. The adhesive needs a smooth surface for full contact. If your rental has heavily textured walls, a fabric wall panel or large framed art may be a better alternative; see our full renter-friendly upgrades guide for other wall options.
How long does application actually take?
For one accent wall (roughly 10 ft x 8 ft), budget 2–3 hours for a first-timer working carefully, faster on repeat walls once you've got the rhythm.
Is it worth buying the more expensive brands?
Generally yes for adhesion quality and reprintability. Cheaper wallpaper is more likely to tear on removal or leave the "removable" claim more theoretical than real. Read reviews specifically mentioning removal experience, not just how it looks going up.
Related: 50 Renter-Friendly Upgrades That Won't Cost You Your Security Deposit · Small Apartment Storage Solutions That Don't Require Drilling