
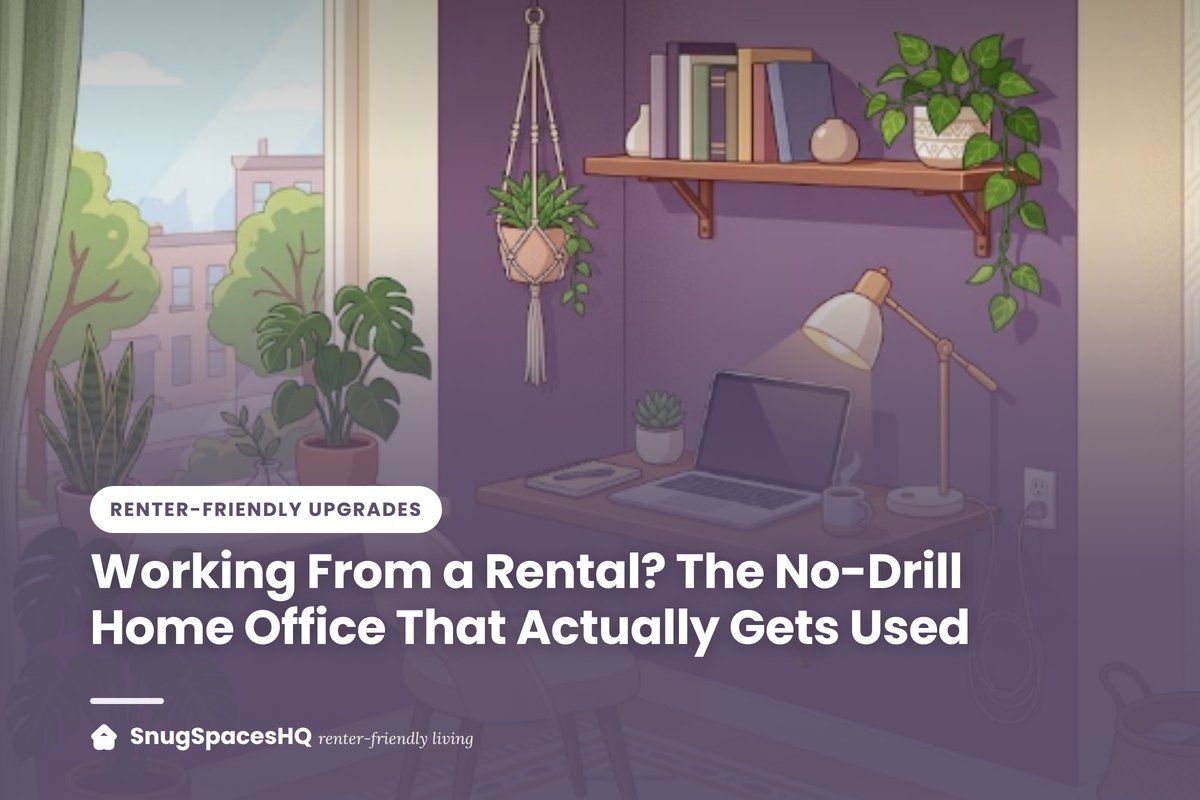
Working From a Rental? The No-Drill Home Office That Actually Gets Used
Most rental home offices fail for the same reason: the desk ends up wherever there happens to be space, which is usually a dark corner facing a wall, and within a month you are working from the couch again.
Placement, light, and cable management decide whether a workspace gets used. None of the three requires drilling a single hole.
Placement: get the light right first
Position the desk so a window is to your side, not behind you and not directly in front. Behind you means glare on the screen and a blown-out background on video calls. Directly in front means you are staring into brightness all day and squinting by mid-afternoon.
Side lighting gives you natural light on your face for calls without either problem. If the only workable spot puts a window behind you, a sheer curtain diffuses it enough to work — and you can hang one without drilling on a tension rod.
If you are working in a studio or a single room, treat the desk as its own zone with a rug or a shelf edge marking the boundary. Zoning one room into separate functions matters more for focus than the desk itself does.
The desk you actually want
A desk between 47 and 55 inches wide fits a monitor, a laptop, and still leaves writing space. Narrower than 40 inches and everything competes.
Depth matters more than people expect. At least 24 inches lets you push a monitor back to a comfortable viewing distance. On a shallow desk the screen is always too close, which is a common and unrecognized cause of end-of-day eye strain.
If floor space is genuinely tight, a wall-mounted folding desk is the obvious answer — but in a rental that means anchoring into the wall. If you go that route, read how to anchor into a rental wall properly first, and budget for patching the holes at move-out.
Vertical storage without a single screw
The desk surface stays clear only if there is somewhere else for things to go.
- A narrow bookshelf beside the desk rather than above it. Freestanding, no hardware, and it doubles as a boundary for the work zone.
- Under-desk cable trays that clamp or adhere to the underside of the desk.
- Monitor risers with storage underneath — raises the screen to eye level and reclaims the space beneath it.
- Adhesive hooks on the side of the desk for headphones and bags. Check what adhesive strips can actually hold before hanging anything heavy.
For anything higher up, using vertical space without a drill covers the freestanding options that work in a rental.
Cable management is what makes it stick
This sounds cosmetic. It is not. A workspace with cables spilling off the back of the desk reads as temporary, and temporary workspaces get abandoned.
- Mount a power strip to the underside of the desk with adhesive strips so nothing runs to the floor.
- Bundle the runs with velcro ties rather than zip ties so you can change things later.
- Use a single cable channel along the back edge of the desk for anything that must reach the wall.
- Leave slack at both ends. Cables under tension pull loose and wear out.
Lighting for the hours the window does not cover
Overhead rental lighting is almost always a single unflattering fixture. Two lamps solve it: a task lamp on the desk for the work surface, and a floor lamp bounced off the wall or ceiling to lift the ambient level so the screen is not the brightest thing in the room.
For video calls specifically, a light source in front of you at roughly face height does more for how you look than any camera upgrade.
Sound
If you are on calls from a thin-walled apartment, a rug, curtains, and a full bookshelf do genuinely reduce both echo in your room and noise from outside it. Our guide to soundproofing without construction covers what works and what only appears to.
Protect the deposit while you are at it
Two things cost renters money in home offices: chair casters cutting into flooring, and heavy monitors or shelves mounted into walls that then need repair. A chair mat solves the first entirely. For the second, if you can avoid drilling, avoid it — and if you cannot, patch properly before the walkthrough using the wall repair guide.
You can see roughly what those two issues typically cost at move-out with our security deposit calculator.